Choosing the Right Polish for Wood: Your Confident Path to a Beautiful, Durable Finish
Chosen theme: Choosing the Right Polish for Wood. Welcome! Let’s turn raw boards into heirlooms with smart, practical choices that fit your wood, your space, and your life. Share your projects and subscribe for weekly finish tips and real-world stories.
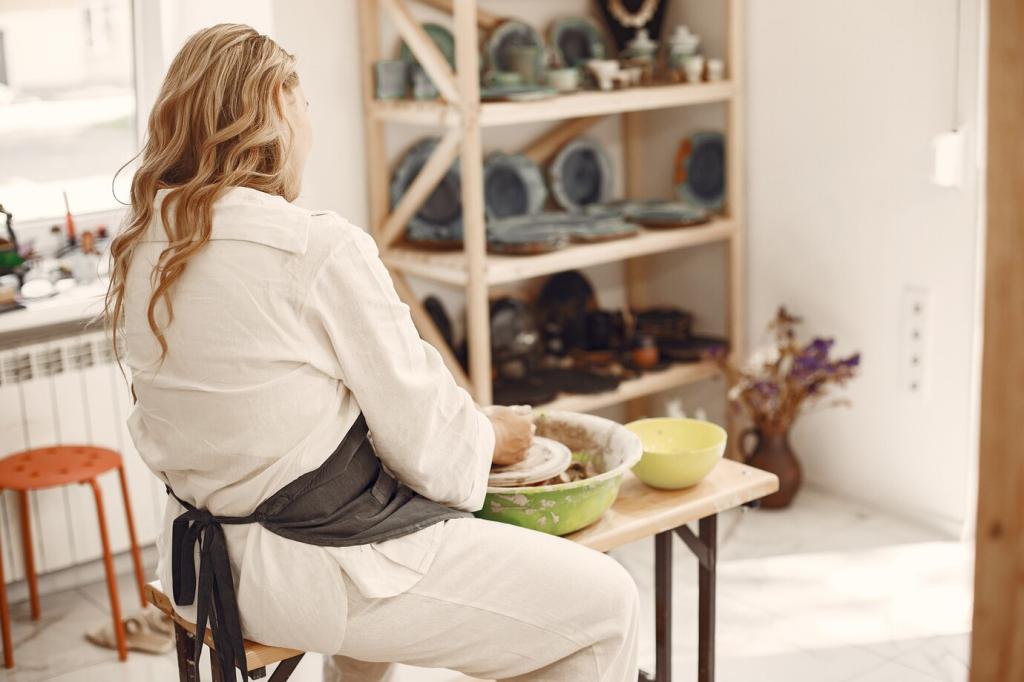
Know Your Finishes: Types of Wood Polish and What They Do
Wax: Warm Glow, Modest Protection
Beeswax and carnauba wax deliver a soft, hand-rubbed sheen that flatters antiques and carved details. It’s low-odor and repairable, but offers limited moisture and scratch resistance, so expect regular refreshes on tabletops and high-use pieces.
Shellac, from the lac bug, builds fast and sands beautifully, especially dewaxed varieties. Lacquer sprays thin, dries quickly, and buffs to clarity. Polyurethane excels at abrasion resistance; water-based versions stay clear, while oil-based adds a classic amber glow.
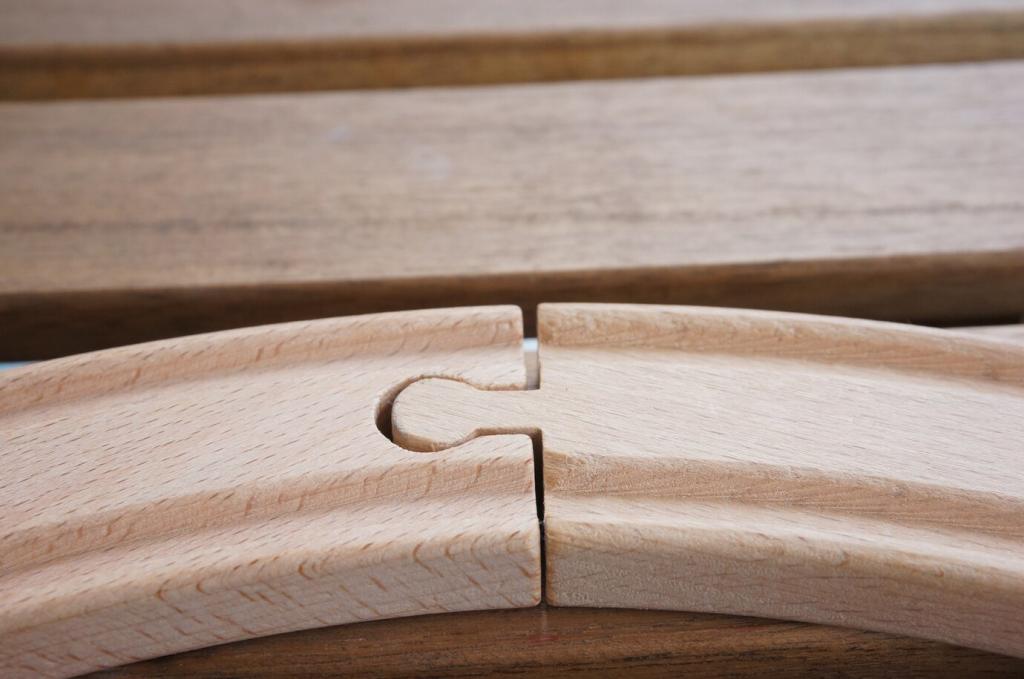
Open-grained oaks welcome pore-filling and look lively under oils, while tight-grained maples can blotch with penetrating finishes. Pine is forgiving yet prone to uneven absorption; consider a washcoat or gel-based approach to tame surprises.
Oil-based finishes warm tones and deepen contrast, fantastic for walnut and cherry. Water-based stays clearer, preserving pale species like maple and birch. Test for long-term color shift under sunlight to avoid unintended amber hues.
End grain drinks polish quickly, so pre-seal with a thinned coat before final applications. Sand edges thoughtfully to prevent rounding that catches light differently. Small decisions here noticeably influence perceived uniformity and polish depth.
Preparation and Testing: The Real Secret to a Great Polish
Sanding Sequence and Surface Cleanliness
Progress steadily through grits and stop before burnishing the surface, which can block penetration. Vacuum dust, then tack rag lightly. A whisper-clean surface helps polish adhere, level predictably, and reflect light evenly without ghostly swirl marks.
Spot Tests, Sample Boards, and Sheen Checks
Create a small offcut board, sand it exactly like your project, and try two polish options side-by-side. Evaluate in daylight and warm light. Check feel as well as look—hands reveal subtleties your eyes often miss.
A Quick Anecdote from the Workshop
I once rushed a maple dresser with oil, skipping a washcoat. Blotches bloomed like clouds. A small test would have saved hours of scraping. Now I sample religiously—and invite you to share your near-miss stories.
Application Methods, Timing, and Safety
Wipe-on oils and thin varnishes give control and a tactile bond with the wood. Brushing builds faster layers with quality bristles or foam. Spraying delivers ultra-even films but demands ventilation, practice, and careful overspray management.
Application Methods, Timing, and Safety
Dry-to-touch is not fully cured. Oils oxidize; water-based films coalesce; solvents flash, then harden. Follow manufacturer windows for sanding between coats. Patience prevents witness lines, adhesion failures, and that persistent print from a stray fingernail.